In a constantly busy world where tending to the dishes becomes almost impossible, a dishwasher can become your one and only savior. Not only do they add to the convenience of not having to wash dishes by hand, but they also save you a tremendous amount of time to tend to other important things you may need to deal with.
As dishwashers have become increasingly popular in busy households over the last decade, more people are starting to use dishwashers from the influence of others but are unsure of how to make adjustments to a pressure switch on a dishwasher properly. This valuable and straightforward guide will go through a few simple steps to change the pressure switch on a dishwasher, aiming to make the dishwasher experience a significantly smoother one.
How to Adjust the Pressure Switch on a Dishwasher
The steps to adjusting the pressure switch on a dishwasher are relatively simple:
Step 1
Before you get started, make sure your water and electricity are turned off. You can do this by looking below your sink for a spigot handle. Ensure that this handle is rotated to the left as much as possible and test out whether the water is completely off or not by turning the tap in your sink. After you confirm that there is no water and electricity, pull your dishwasher out and disconnect the electrical cord. Alternatively, you can cut the power off by throwing the switch to the kitchen in your breaker box. Some dishwashers have their circuit breakers, too.
Step 2
Ensure your access panel is removed from your dishwasher, which will be on the back of the dishwasher. To remove the access panel, you will have to pull it out from the wall first.
Step 3
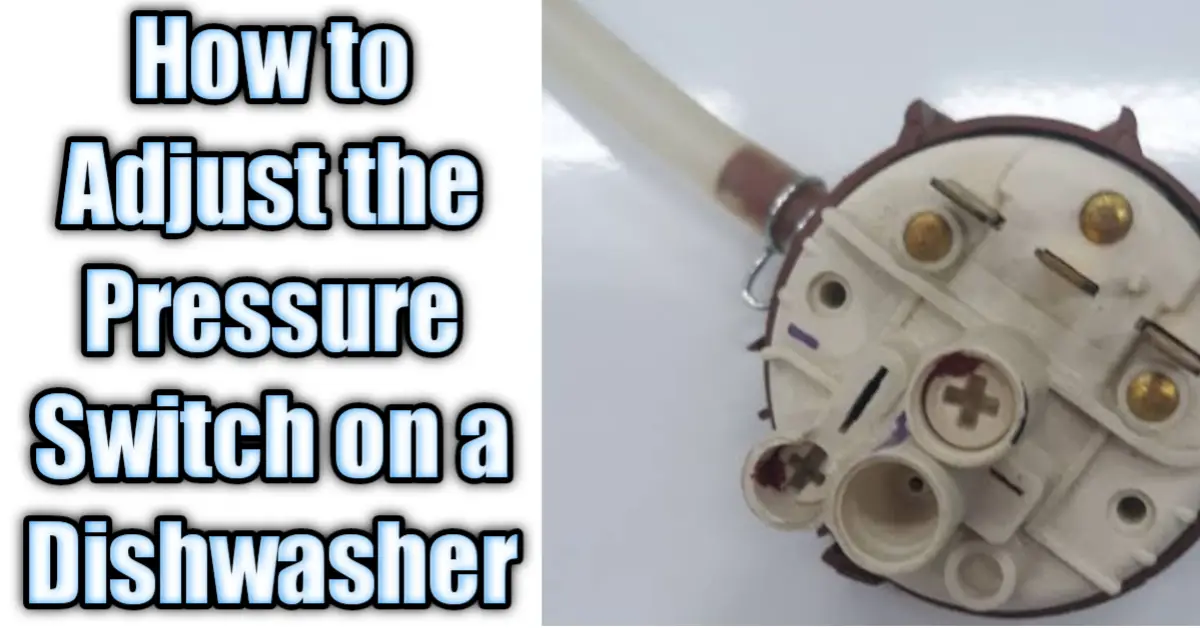
After step 2 is complete, look for the water heater. The water heater will look like a long tube and will have a control box attached to it. The only other items below this panel are the pipes and the pump so that they won’t be easily missed. The pressure switch is a round pipe that directly threads into the heater tube. The top of the pressure switch will be facing you once you have removed the panel.
Step 4
Now, remove the cover, which should be on the pressure switch. The body to pressure switch is typically a screw-on type that can be unscrewed with counterclockwise motions on locking pliers and turning. The nozzle screw should be directly under the cap.
Step 5
Insert any flat-bladed screwdriver into the adjustment screw and turn it clockwise. This will reduce the pressure on the dishwasher nozzles, and respectively, turning it counterclockwise will increase the pressure on the nozzles. So, if you turn the adjustment screw counterclockwise, be very careful not to unscrew it too much. If not dealt with care, chances of leakage happening in the fixture may increase. Initially, try to turn the screw at half a turn and check the pressure by noticing how everything gets cleaned the next time dishes are run through a cycle in the dishwasher.
Step 6
Now that the pressure switch on the dishwasher has been adjusted, it is time to reassemble the dishwasher. Once the switch is adjusted, put the cap back on and screw the access panel back how it originally was. Then, place your dishwasher back into the alcove and give your adjusted dishwasher a try.
Conclusion
Adjusting the pressure switch on a dishwasher becomes necessary when your dishes arent getting cleaned because of low water pressure, which means the food particles can’t be washed off. This simple guide covers everything you need to do to ensure your dishwasher works how it needs to in a very straightforward way. So, keep your dishes clean, and make life easier with a dishwasher!