
Dosa is an extremely popular South Indian cuisine that is eaten and praised widely by all food lovers. The crispy and thin rice pancake can be consumed with various types of chutney, Sambhar, vegetables, and mashed potatoes to add to the flavor; the healthy components make it a dish that is suitable for your table during breakfast, lunch, and dinner.
Dosa is best made on seasoned cast iron or aluminum pans but when unavailable, you can use non-stick pans too. Our today’s article aims to let readers know how to make dosa in a non-stick pan; if you want to learn, stick around till the end!
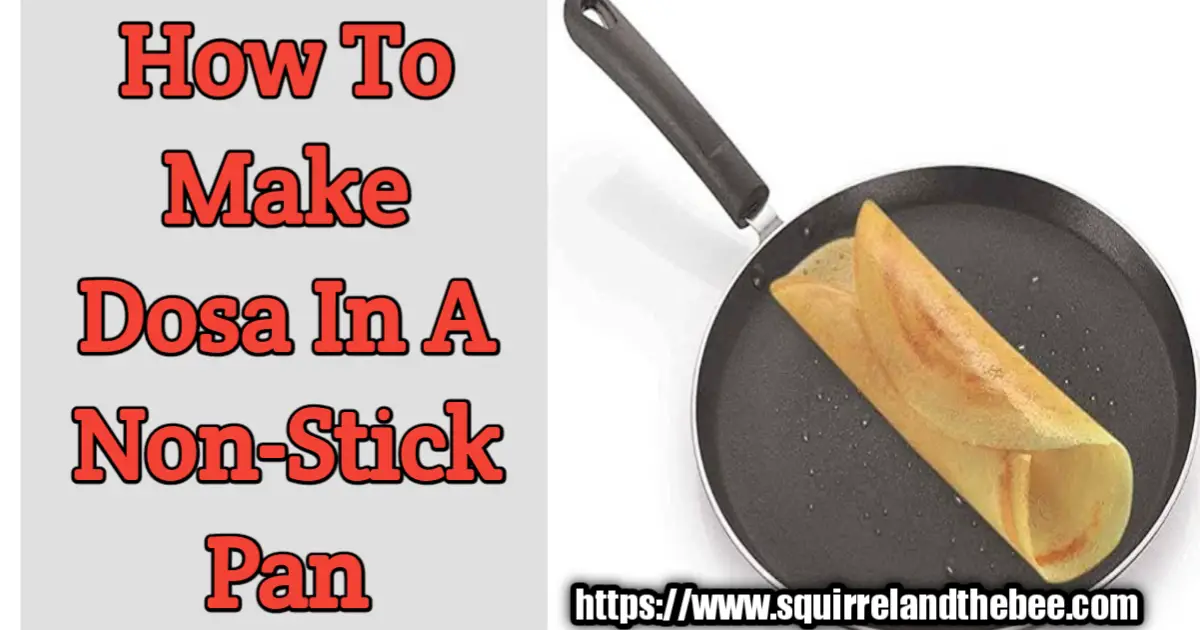
Process Of Making Dosa In A Non-Stick Pan
Step 1: Making Batter
A little bit of surfing on YouTube or Google will lead you to recipes for preparing the perfect batter for your dosa. Follow the recipes to the dot to get the right consistency; this will make your work process easier. Any leftover amount of batter can be refrigerated to preserve it for at least 3 weeks.
If you have previously made batter ready, make sure to take it out of the refrigerator at least 15 minutes before you start the making process.
Step 2: A Little Trick
Unlike cast iron tawas that are seasoned to prevent the dosa batter from sticking, non-stick pans require you to sprinkle a little bit of atta or wheat on its surface. This will allow you to make the perfect round dosa without any tears or cracks.
Step 3: Heating To Perfection
When it comes to making a dosa, an important thing to make sure before pouring the batter is making sure the non-stick pan is heated properly.
The non-stick pan needs to be hot enough to quickly dry up splattered water (you can do this as a test) but not hot enough to make the pan smoke up.
Step 4: Pouring
Using a ladle or a big enough spoon, pour some batter on the middle of your non-stick pan and move it to spread the batter out equally all over the entire pan.
Step 5: Heat
Allow the dosa batter to be heated for 5 to 6 minutes. Wait for the edges and center to have a golden brown tint and then flip it from the side.
To prevent it from sticking, you can also add a little oil or ghee on the edges; this is not a must. You can do this if you are not confident about your batter’s consistency.
Step 6: Plate It
Once the other side of your dosa is done cooking, you can roll it over and serve alongside the side dishes that you have prepared.
Tips And Tricks on Making Dosa In A Non-Stick Pan
- Before making a dosa clean the non-stick pan and afterward, apply some oil all over it and heat it to the point where it starts smoking. Then remove the pan from the flames for about 10 minutes. And allow it to cool down before making the dosa. This will prevent the dosa from sticking onto the non-stick pan’s surface.
- It is best to oil down the surface again before pouring the batter to prevent sticky edges.
- Once you are done pouring and spreading the batter all over the pan, cover your non-stick pan with a lid. This will perfectly cook up your dosa.
- Make sure your batter’s consistency is perfect. If your batter often sticks to the surface of the non-stick pan, you might want to add an egg per 3 cups of batter for about a week. Afterward, you can expect your dosa to form perfectly on your non-stick pan.
- While greasing, avoid using butter as it burns quicker. Using vegetable oils, coconut oil, etc. is a better option.
- Make sure the flame is not high; a steady low flame is the best way to go.
- Flip your dosa only when the edges are golden brown and the center looks cooked too. You can check by touching the batter with your spatula; if no batter sticks to the tip, you can easily flip it over.
- Make sure not to use metal spoons or spatulas on your non-stick pan.
FAQ
How Do You Clean A Non-Stick Dosa Pan?
Cleaning a non-stick pan requires extra care and precautions as you do not want to lose its non-stick feature. Do not use metal scrubs or mesh ones; instead, you can opt to use a soft cloth. Avoid harsh dishwashing liquids and use neem-based or lemon-based ones that will cause no chemical damage to your non-stick dosa pan.
How Do You Pour Dosa Batter On Non-Stick Tawa?
After making sure that the consistency of your batter is perfect, with a ladle pour the batter in the middle, and then by gripping the handle, slowly move it around so that the batter can spread out; make sure no spot is thicker than the other.
Which Pans Are The Best For Making Dosa?
Cast iron pans, Tawas, or griddles are the best way to go when it comes to cooking a dosa as they evenly spread heat and are thicker than most. Other than that, aluminum and non-stick pans are also preferred options although they tend to heat up more quickly. When a pan is not non-stick, you need to season it before making dosa using it.
Cooking dosa on a non-stick pan requires a little bit more care than when making it on a seasoned cast iron pan or aluminum pan. Hence, our article is aimed at informing our readers about the process so that they can easily make and devour some savory dosa along with some chutney and mashed potatoes; we hope that following the steps will help you get the perfect crunch, shape, and colored dosa that are appreciated by all!